Shell 终端美化教程
Mac 和 Linux
安装 zsh
macos
mac 默认已经安装了 zsh, 只需切换
1 | chsh -s /bin/zsh |
如果想还原回去执行 chsh -s /bin/bash 即可
ubuntu
1 | sudo apt install zsh |
安装 oh-my-zsh
基于 zsh 命令行,是对 zsh 的包装,提供了主题配置,插件机制.
curl
1 | sh -c "$(curl -fsSL https://raw.github.com/ohmyzsh/ohmyzsh/master/tools/install.sh)" |
wget
1 | sh -c "$(wget https://raw.github.com/ohmyzsh/ohmyzsh/master/tools/install.sh -O -)" |
安装 Powerlevel9k / Powerlevel10k 主题
zsh 使用最多的主题
1 | git clone https://github.com/romkatv/powerlevel10k.git $ZSH_CUSTOM/themes/powerlevel10k |
vim 编辑 ~/.zshrc 设置 ZSH_THEME="powerlevel10k/powerlevel10k".
1 | vim ~/.zshrc |
1 | ZSH_THEME="powerlevel10k/powerlevel10k |
再增加一行配置:POWERLEVEL9K_MODE="awesome-patched"
安装字体
- ubuntu
1 | apt-get install fonts-powerline |
- macos
1 | https://github.com/powerline/fonts/blob/master/SourceCodePro/Source%20Code%20Pro%20for%20Powerline.otf |
打开下载的字体,然后按 “安装字体”。在 iTerm2 中设置字体(Preperence->Profiles->Text→Change Font), 选择 Source Code Pro + Font Awesome, 大小 18,最好对 “字体” 和 “非 ASCII 字体” 都进行设置。重新启动 iTerm2,以使所有更改生效.
zsh 配置主题
1 | source ~/.zshrc |
或者执行下面的命令,重新配置
1 | p10k configure |
开始配置 Powerlevel10k, 根据提示 (喜好) 选择 1234 或 yes、no
记得选用 unicode
iterm2 主题配置 (针对 mac)
下载主题:https://iterm2colorschemes.com
Preperence->Profiles->Colors->color Presets, 点击 import, 选择刚解压的目录,点击目录下的 schemes, 选择你想要导入的主题 (可多选全部导入), 导入后选择自己喜欢的主题,这里我选择了 ubuntu 主题
一些常用的插件
zsh-autosuggestions
下载插件
1 | git clone git://github.com/zsh-users/zsh-autosuggestions $ZSH_CUSTOM/plugins/zsh-autosuggestions |
编辑 ~/.zshrc , 设置 plugins
1 | vim ~/.zshrc |
1 | plugins=(zsh-autosuggestions git) |
使插件生效
1 | source ~/.zshrc |
上次敲过的命令,会自动提示,按右方向键➡️确认填充上次的命令
zsh-syntax-highlighting
下载插件
1 | git clone https://github.com/zsh-users/zsh-syntax-highlighting.git $ZSH_CUSTOM/plugins/zsh-syntax-highlighting |
写入到配置
1 | echo "source $ZSH_CUSTOM/plugins/zsh-syntax-highlighting/zsh-syntax-highlighting.zsh" >> ${ZDOTDIR:-$HOME}/.zshrc |
使插件生效
1 | source ~/.zshrc |
命令会自动高亮显示
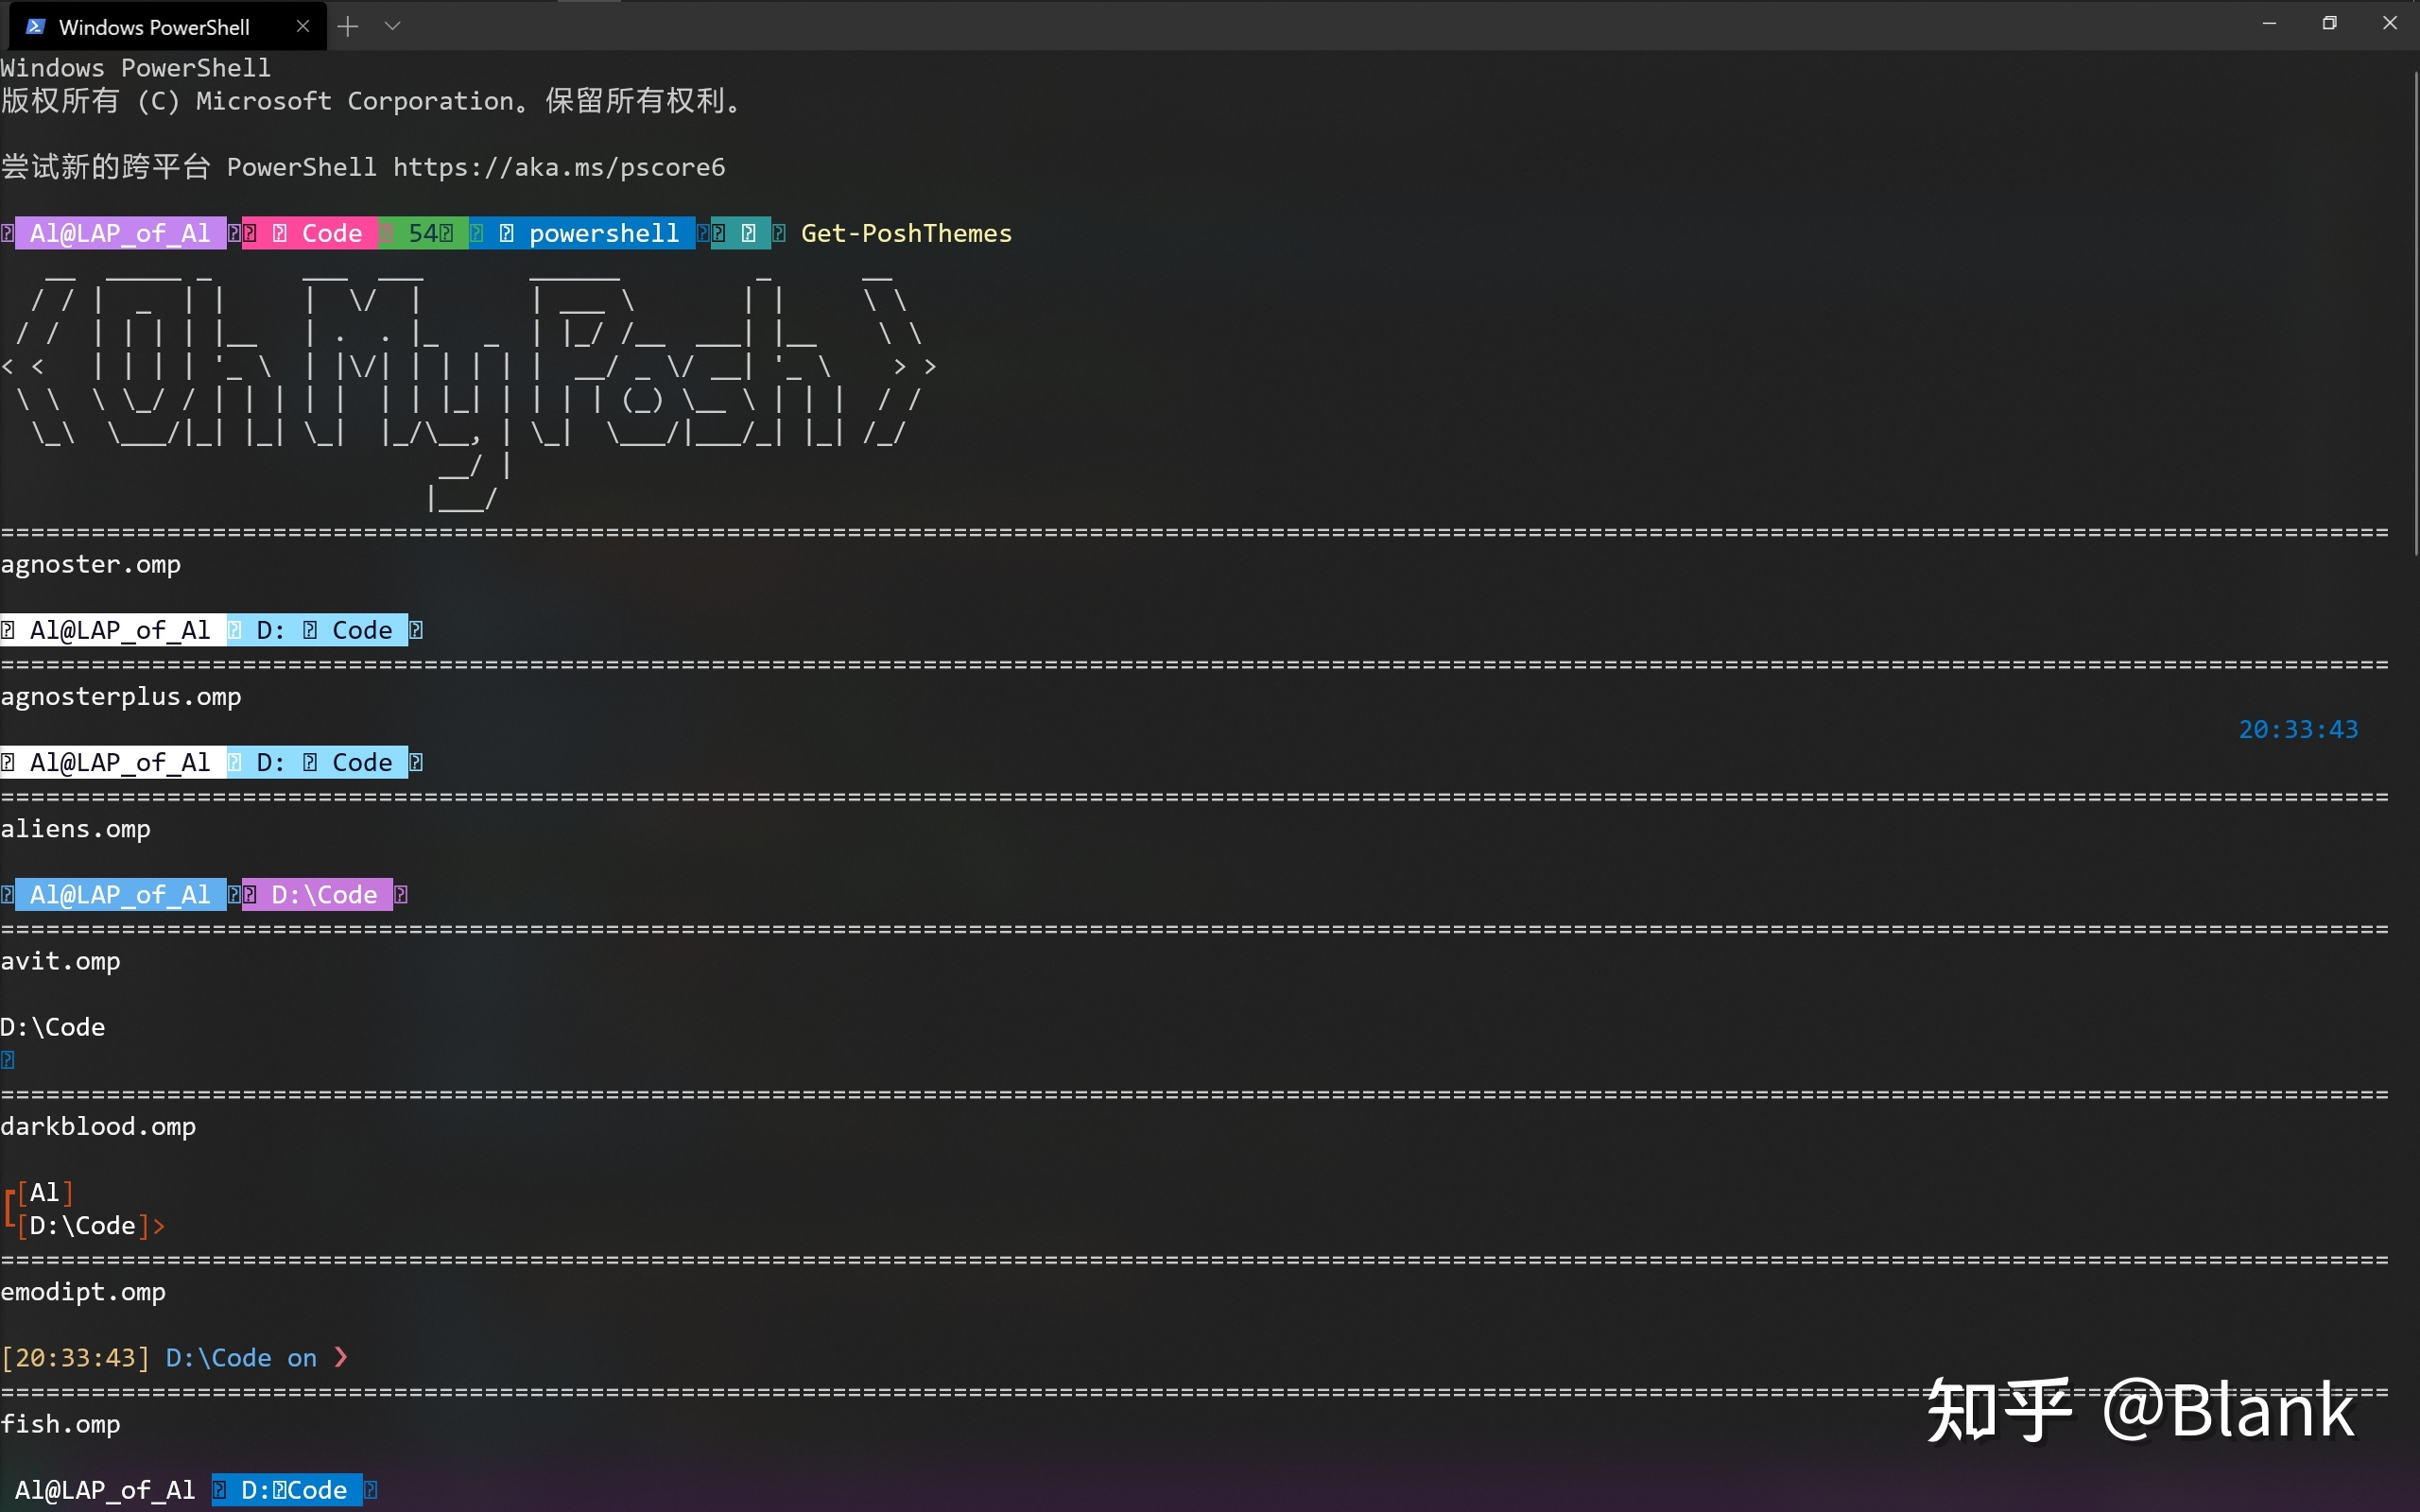
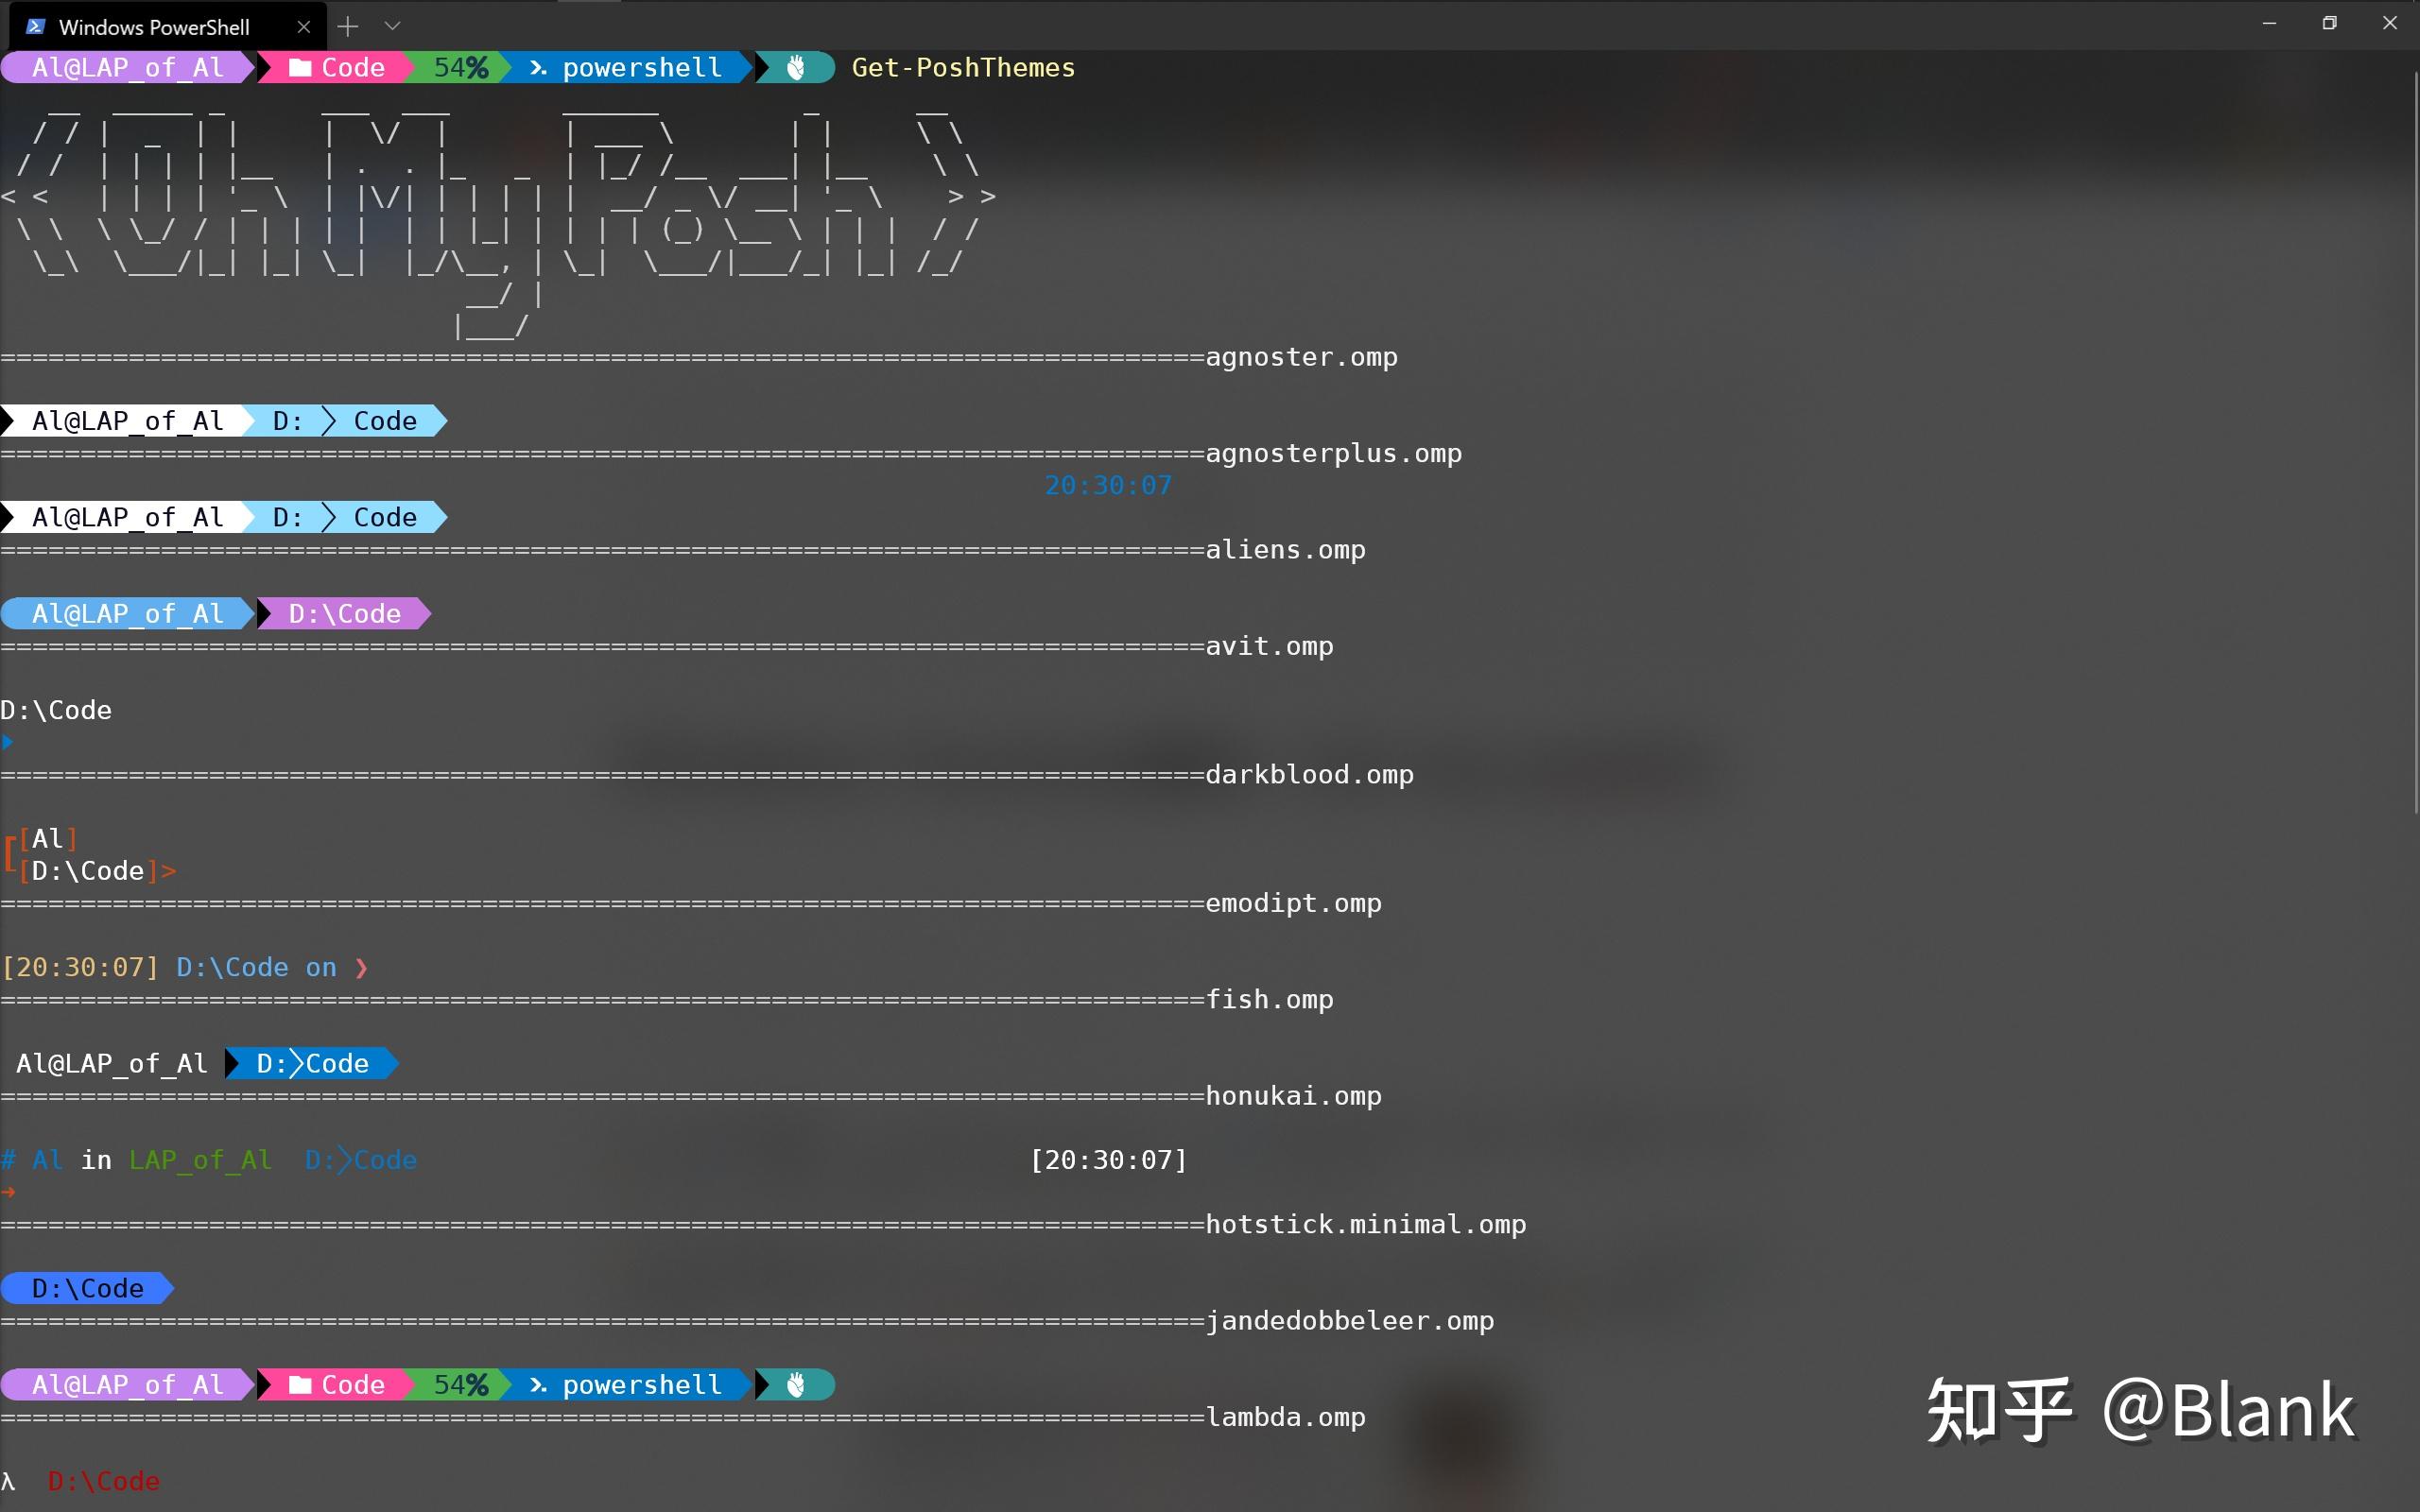
查看主题名称
- Oh My Zsh 默认自带了一些默认主题,存放在 ~/.oh-my-zsh/themes 目录中。我们可以查看这些主题
- 终端输入:
1 | cd ~/.oh-my-zsh/themes && ls |
查看更多主题样式:github.com/robbyrussell/oh-my-zsh/wiki/Themes
Windows
推荐:安装 PowerShell 7
本文需要用到 PowerShell 7 或以上版本,可以从 GitHub 下载安装 PowerShell 7,在 release 页找一个正式版下载安装即可(预览版也行),例如 PowerShell-7.0.1-win-x64.msi。
PowerShell Releases :PowerShell7
PowerShell 7 带来了一系列的新功能、语法和改进,如 null 传播符 ?.、??,并发的 ForEach-Object -Parallel,&& 和 || 操作符,自动更新检测,简短的错误提示,等等
为什么不用 Windows 自带的 PowerShell 5.1 呢?因为
- 慢
- 难用
- 配色丑
- 语法落后
- 不能跨平台
- 报错信息太长
- …
PSReadLine
PSReadLine 是一个由微软发布的用于 PowerShell 的行读取实现,提供了以下功能:
- 语法着色
- 简单语法错误通知
- 良好的多行体验
- 可自定义的键绑定
- Cmd 和 Emacs 模式
- 许多配置选项
- Bash 样式的补全
- Bash/zsh 样式的交互式历史记录搜索
- Emacs yank/kill ring
- 基于 PowerShell Token 的单词移动和删除
- 撤销 / 重做
- 自动保存历史记录,包括在实时会话中共享历史记录
- 菜单补全、Intellisense
目前发布了 2.1.0-beta1 版本,为了能够达到本文中的体验,需要使用 2.1.0-beta1 或者以上版本。如果是使用 PowerShell 7.1 或以上版本则自带了 PSReadLine 2.1,不需要手动安装。
安装 oh-my-posh 主题
1. 首先,先贴上 oh-my-posh 的官方文档:https://ohmyposh.dev/docs/
2. 然后,打开 Windows Terminal,没安装的可以到 Microsoft store 搜索 “Windows Terminal” 安装即可。
3. 安装好之后,使用管理员身份打开 Windows Terminal。安装 oh-my-posh 和 posh-git。
- 第一条命令(绕过
power shell执行策略,使其可以执行脚本文件 <后面会用到>)
1 | Set-ExecutionPolicy Bypass |
- 第二条命令(oh-my-posh 提供主题)
1 | Install-Module -Name oh-my-posh -RequiredVersion 6.9.0 -Scope CurrentUser |
- 第三条命令(posh-git 将 git 信息添加到提示中)
1 | Install-Module posh-git -Scope CurrentUser |
注意:如果中途有询问,直接 Y 就好了。
编辑相应配置文件
1. 在 Windows Terminal 中敲下下面两行命令
- 第一条(启动编辑 power shell 配置文件的引擎)
1 | if (!(Test-Path -Path $PROFILE )) { New-Item -Type File -Path $PROFILE -Force } |
- 第二条(使用 VScode 打开配置文件)
1 | code $PROFILE |
2. 在打开的文件中写入如下内容(脚本文件),并保存
1 | Import-Module posh-git # 引入 posh-git |
- 第一条命令表示导入 posh-git
- 第二条命令表示导入 oh-my-posh
- 第三条命令表示设置主题为 powerlevel10k_rainbow
配置完后,每次打开 Windows Terminal 中的 Power shell 都会执行脚本文件中的命令。
1 | #注意:此处的第三行是oh-my-posh2与3的不同之一,在oh-my-posh2里的是: Set-Theme XXXX |
这时,你会发现出现了一些方框,效果并不像图片上那么好。那是因为,还没有给主题安装适应的字体。
安装 Nerd Fonts 字体并应用
1. 安装字体
- 进入 nerdfonts 网站:https://www.nerdfonts.com
- 点击 Downloads
- 随便下载一款字体(推荐 <DejaVuSansMono Nerd Font> 或 <Cousine Nerd Font>,这两套字体比较全,适配也还不错。)
- 下载完成后,解压到当前文件夹,然后 CTRL+A 全选,右键点击安装,等待安装完成即可。
2. 使用字体
- 打开 Windows Terminal,并在上方标签栏点击下拉按钮找到设置,并点击,然后在左侧最下方点击打开 JSON 文件。
- 如果有 vscode,将会在 vscode 中打开 settings.json,这个就是 Windows Terminal 的配置文件。
- 这个配置文件最开始几行表示的是架构和默认配置。下面几行有 3 个包含着字典的列表,分别表示快捷键(keybindings)、配置(profiles)、配色方案(schemes)。而我们需要设置的地方在 ** 配置(profiles)** 中,在 profiles 中,我们能看到有多个字典,我们需要设置美化 power shell,故找到字典中包含:
1 | "guid": "{61c54bbd-c2c6-5271-96e7-009a87ff44bf}" |
这是 power shell 的全局唯一标识符(guid)。
- 找到后,将其中键为 “fontFace” 的键值对改为(如果没有 fontFace 就自己添加一下,放在 guid 下一行,记得加逗号):
1 | "fontFace": "DejaVuSansMono Nerd Font" |
注意:此处字体的名称请参考上方 Nerd Fonts 网站中的字体名称,否则无法显示出来。
- 设置好之后保存 settings.json 文件(若 vscode 未开启自动保存设置,可使用 CTRL+S 进行保存。)
- 完成之后重启 Windows Terminal 即可发现样式改变了,若未改变,请重启 Windows Terminal。
优化 PowerShell 的配色
接下来,我们可以使用微软提供的一个方便更改默认终端配色的工具 colortool 来优化 powershell 中的颜色,下载地址:
https://github.com/microsoft/terminal/releases/download/1904.29002/ColorTool.zip
这个工具也支持读取 iTerm 主题文件。
- 首先,使用上面的地址将 ColorTool 下载至本地,并解压
- 打开
Windows terminal的Powershell Tab
ColorTool 使用非常简单,该工具自带了几种配色主题,我们可以利用下面这个命令进行查看:
1 | .\ColorTool.exe -s |

其中前面列出的几个 .ini 和 .itermcolors 就是主题配置文件,我们可以直接通过下面这个命令设置主题:
1 | # 临时查看 |
比如我们希望将主题配色更换为 OneHalfDark.itermcolors,只需要输入下面这个命令就可以更换并预览更新:
1 | .\ColorTool.exe solarized_light.itermcolors |
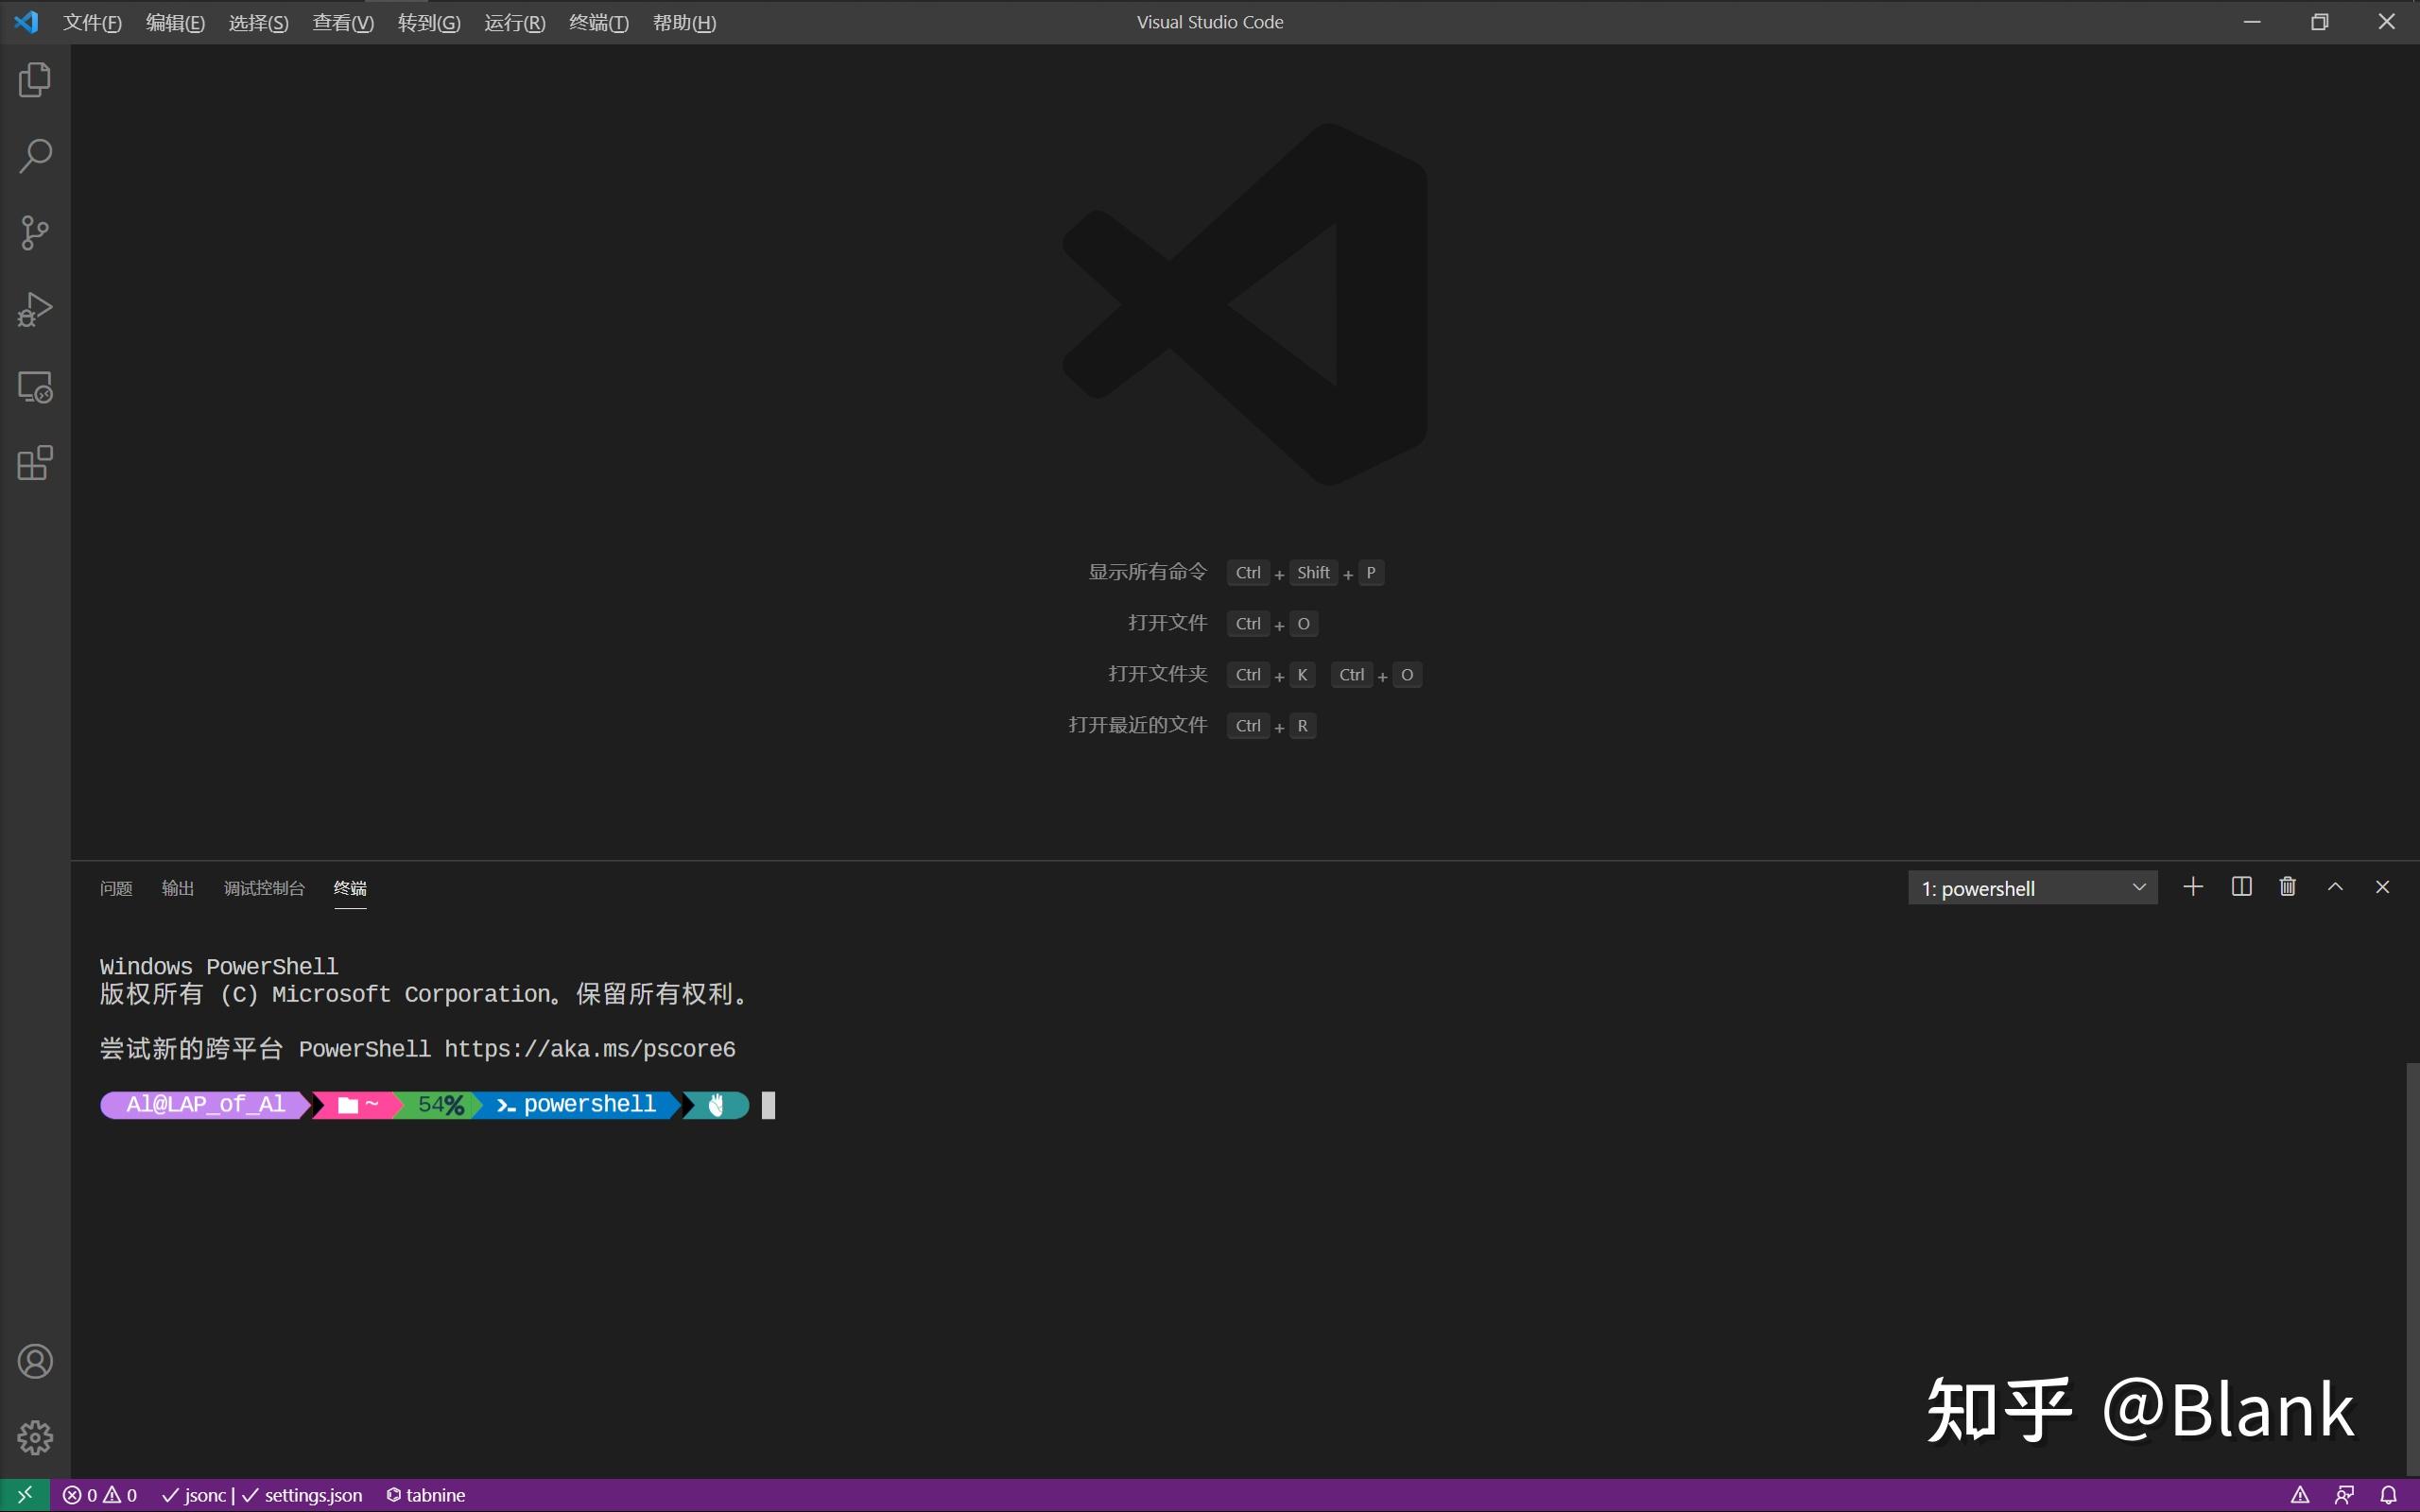
在 vscode 中 power shell 样式(可选)
1. 使用 CTRL+, 打开 vscode 的设置
2. 在顶部输入框输入以下字符:
1 | Integrated:Font Family |
3. 在所显示(Terminal › Integrated:Font Family)的输入框中输入(在我的电脑上 Cousine Nerd Font 适配比较好,不会出现偏移的现象):
1 | Cousine Nerd Font |
或
1 | DejaVuSansMono Nerd Font |
4.VSCode 整合
点击右上角的图标,打开配置的 json 文件,加入如下配置。
1 | { |
5. 使用 CTRL+` 召唤终端,即可看到样式发生改变,如果看不到,请重启 vscode。